
I thought I would post a tutorial on how to make the heart wreaths that I hung on the back of my dining room chairs. They are pretty simple but have several steps...so grab a comfy chair, this will take a couple of minutes.
Here's what you will need.

You'll start by cutting your white card stock into the size circle that you want.

I chose an 8 inch circle.

After cutting out the 8 inch circle line up your circle cutter and cut out a 4 inch circle. You can use the grid on your cutting mat to line up the cutter so that your 4 inch circle is centered.

Voila!
You will need 2 rings for each wreath that you make.
Next, summon your super helpful and happy toddler, if you have one, to come help. (Mine was actually chompin' at the bit to help his mama craft.)

Ahhhh...here he is. See, very happy.
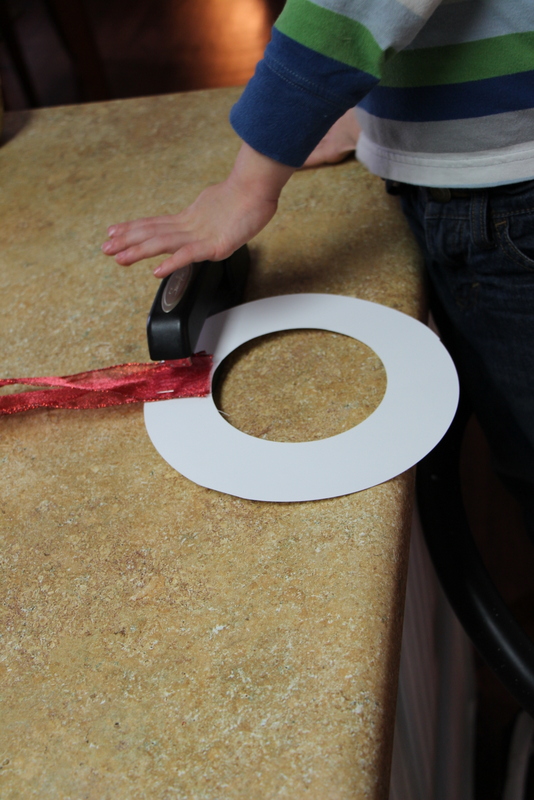
Staple the ribbon that I have not instructed you to cut yet to the center of your ring. Your happy toddler will be glad to do this. The ribbon should be whatever length you need to tie a bow from wherever you are hanging it. Mine was about 18-24 inches long. You will need two pieces for each wreath.

Then have that same happy toddler squeeze some glue out and glue the two rings together. The ribbon will be sandwiched in between the rings.

This is what your finished ring should look like. I actually stapled the ribbon at this point too. It made the card stock sturdier and the staples will get covered by the hearts.
Ok. Now moving onto the hearts. I consider this the fun part. If your happy toddler is napping you can pop in a good movie or cd and sit for awhile. If you are making as many wreaths as I did this step will take awhile. I do not recommend that your toddler help you with this step...sharp knives and all.

Start by cutting all of your pretty papers into 2 inch strips. Be mindful of the pattern. Those zig zags will actually be horizontal once you punch your hearts.

Now take your handy dandy heart punch...I got mine at Michael's...and start punching.
....keep punching
....still punching
...until

you have a big pile like this. Actually this isn't all that big. I eventually got a big bowl out and started to fill it up.
Be sure to buy enough paper. Don't make two additional trips to Hobby Lobby like I did. You can always return what you don't use.
Once all of your hearts are punched you will curl them.

Did you know that you can curl paper? This was a new revelation for me. All you have to do is grab a knife with a flat edge. Start at the middle of the heart and work out. Curl on the pattern side of the paper. Scrape the paper just as you would scrape ribbon with scissors when you are wrapping a present.
Aren't they pretty!
All that is left now is to glue, glue, glue.

I started in the center where the ribbon is.

You can lay your hearts in any direction. What ever makes sense to you and of course what ever looks the best.
And finally...when you are finished, this is what you will have.

Happy Heart Wreath
Stand back and gaze at your handiwork.
Then smile because you made something so cute!
Time well spent!
And kudos to me for actually making something that I pinned!
No comments:
Post a Comment